


Last week was the sixth bevy game jamhosted on itch.io. The theme this time was “Chain Reaction.” I decided to do something of an ambitious project based around cellular automata, and didn’t quite have the time to finish it up. You can see the final project here or in the widget below. Voting is currently happening, so go check that out!
The Project
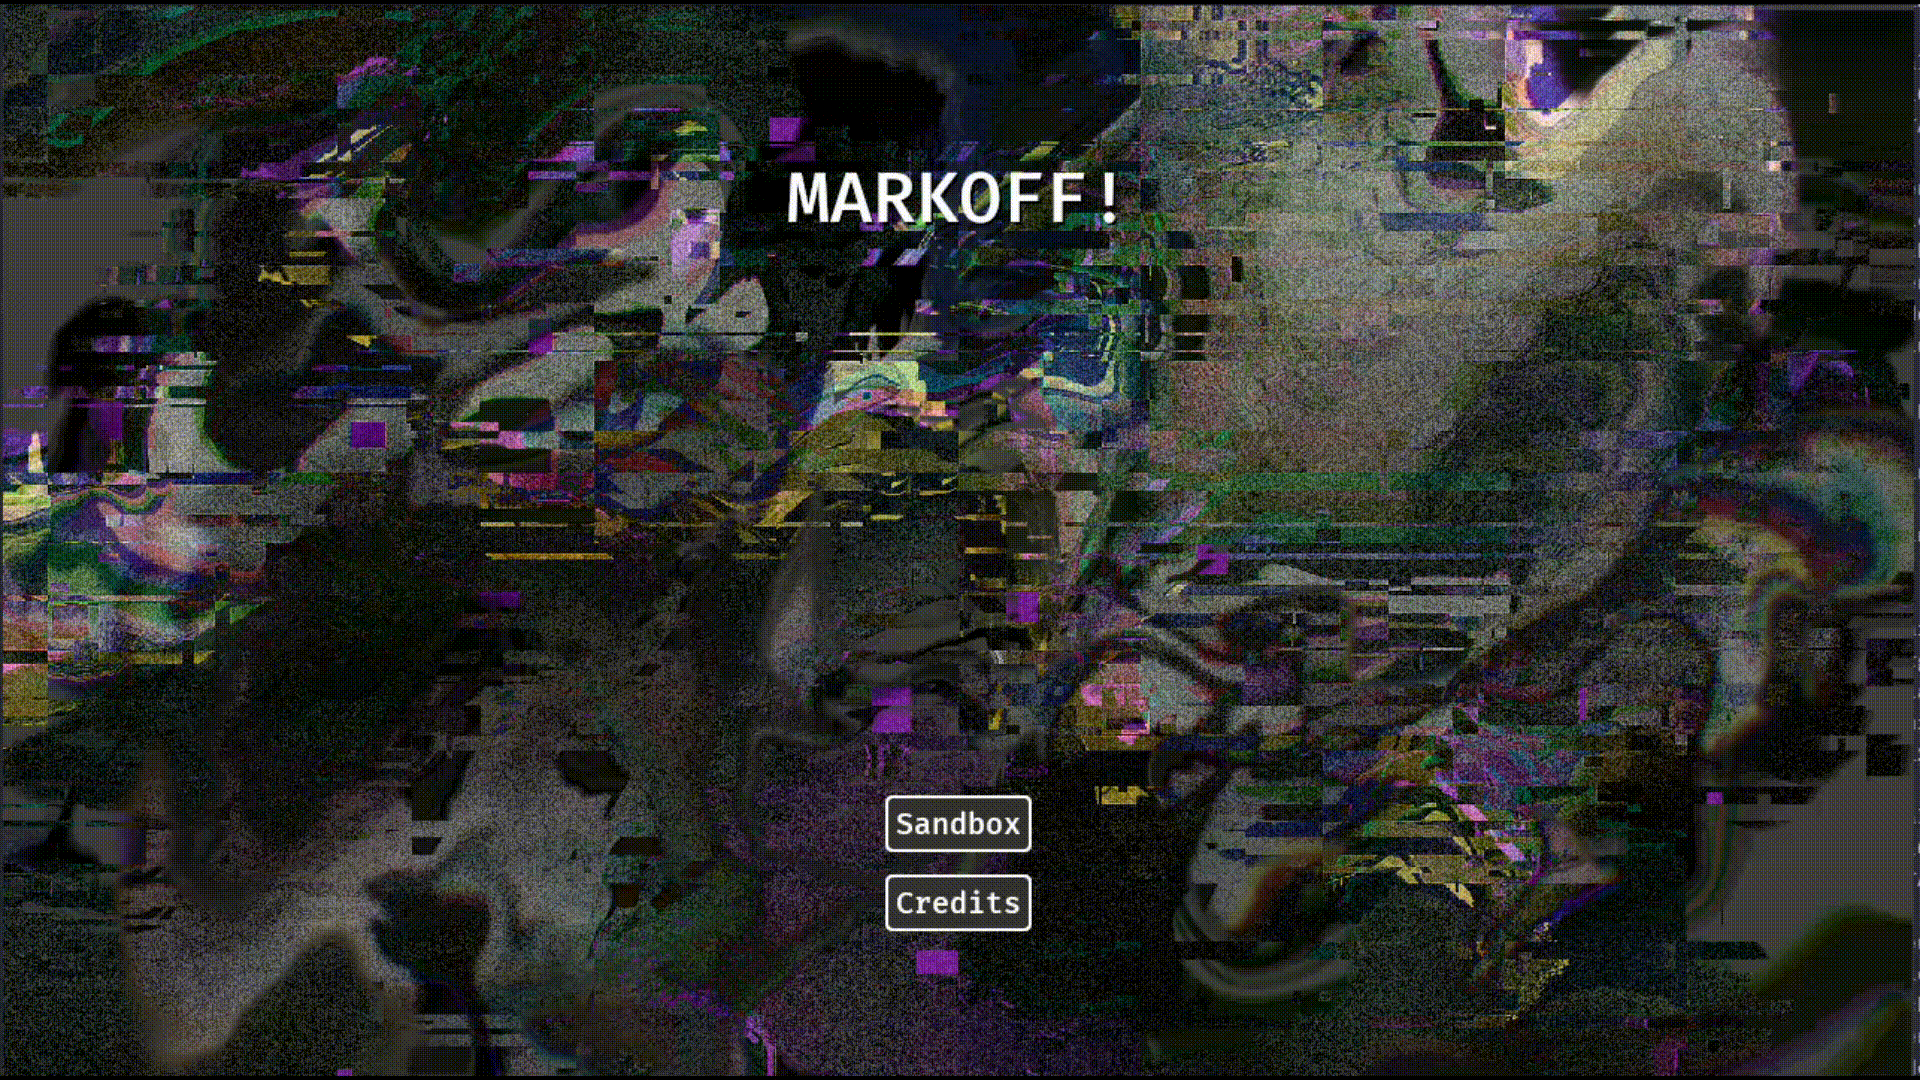
MARKOFF is a cellular automata sandbox and battleground. The idea is to have players take turns placing “stamps” on a board. Once the stamps are placed, a simulation runs, turning the stamp into a captured area. The goal, of course, is to capture as much territory as possible.
I only got as far as implementing the stamping feature. Most of the jam was spent fiddling with UI or figuring out how to get the automation running in the browser. If you want to know where I was headed, the code is open-source and the README.md has some more info on the design. Even though I didn’t do as much as I wanted to, I got some attention for it, including getting reskeeted by the Bevy bsky twice, so I’m pretty happy with that :)
Before I get into the details, I want to shout-out to the awesome Bevy community. I get a significant amount of help from the Bevy discord server, and if you’re interested in game development in Bevy I highly recommend you join. (I have terrible anxiety and have trouble keeping up with live chats, so if I recommend a server you know it’s worth it.)
Setting up
The first two days or so were spent looking for templates and checking out the alpha testing requests. I have been using the bevy cli, including its linter, since the moment it came out. It works really well, no complaints from me. New for me this jam was the dioxus-based hot reloading system. It also works really well, though I didn’t get much of a chance to use it for this project since most of the work I did was either asset-based (which already hot-reloads) or in startup systems (which would require restarting anyways). Finally, there was the matter of templates. I initially checked out the bevy_new_2d and the pyri_new_jam templates, but I thought I would waste more time trying to figure out somebody else’s system than I would creating my own. I’m not sure if I was right about that.
UI UI UI
I spent way too much time focusing on the UI this time. It is one of the first things I tackled since UI is a very big part of this game, and it ended up being a huge time sink. I think this is easily the place where Bevy struggles the most. It’s a well-known pain point, but there’s a lot of work going into the new Bevy scene system which will (hopefully) make this a lot easier going forward. I’ll go over the various frameworks I tried.
Plain Bevy
I haven’t worked in Bevy UI before, so I wanted to spend some time with it. I was especially eager to see how well the new ECS relationships would work, since this is foundational legwork for .bsn, which should make UI development easier. For UI, I still found that the macros weren’t up to par with what I wanted. Laying out nodes in Rust code is flexible, but exhaustingly verbose. I’m happy that I explored it though, I learned a lot about what makes the UI system tick.
I have the app laid out into screens, basically UI pages which are cleared whenever you want to switch states. This is the recommended workflow and is implemented in bevy_new_2d and pyri_new_jam as well. Whenever you load a scene, the root node (marked with a SceneNode component) is removed and replaced with a new layout. One of the upshots is that bevy_simple_subsecond_system allows you to update your code, then refresh the page (e.g. by sending a event on ctrl+r). Since I wasn’t quite clear what I was doing, I didn’t make full use of this, but it’s awesome that it’s a possibility.
My bevy component system really struggled with styling. I think this is mostly because I didn’t know what I was doing! If I were to do it again, I would probably use required components to create custom widgets. For example, I could have created an entity with the MyButton and TitleScreenBtnStyle components. Page-local or global styles could be accomplished by iterating over the children of the root UI node, mapping widget components to their styles (e.g. child.insert(match component { MyButton => (TitleScreenBtnStyle) })). This is just speculation, though.
bevy_hui
Before long I switched to an asset-based workflow. There are many options here, including large and powerful frameworks like bevy_lunex, ICBINB, and the MoonZoon-based reactive framework bevy_haalka. I was intimidated by Lunex’s complexity (without really looking into it), unsure if the bevy 0.16.0-rc.1 dependency in ICBINB would conflict with my plain 0.16 dep, and bevy_haalka isn’t 0.16 compatible yet, so I needed to think of something different - and small. My main contenders were bevy_cobweb_ui and bevy_hui. The Cob syntax is very verbose compared to the familiar “pseudo-HTML” syntax of bevy_hui, so I went hui.
Overall, I really enjoy working with hui and I think it’s a good choice. It has some rough edges, mostly around styling and the property system, but it’s small enough to tackle those issues and simple enough to create widgets from scratch. There’s no built in reactive state management or anything fancy like that: it just compiles XML to a Bevy UI.
I had a lot of issues around component parameters, however. I spent quite a bit of time messing with tags and parameter names. The error messages were a bit unclear! This may just be me learning the framework, though.
UI Architecture with bevy_hui
Every screen and every widget gets its own plugin. These plugins are then fed into the ScreenPlugin and WidgetPlugin respectively, making the overall UI system as easy as importing these. Of course, not every widget has custom functionality, so it’s not necessary to implement them manually. Thankfully, bevy_hui has the AutoLoad plugin to make this work … automatically. I stopped using, though, because I wasn’t sure how well it would play with custom functionality within the watched folder. I’ll have to play with it some more. The components are generally split between general-purpose widgets and screens - unit vs integration, as always. Back in rust land, the screen plugin modules look something like this:
use bevy::prelude::*;
use bevy_hui::prelude::*;

use crate::ui::screens::{CurrentScreen, ScreenMarker};

pub struct MainMenuScreenPlugin;
impl Plugin for MainMenuScreenPlugin {
    fn build(&self, app: &mut App) {
        app.add_systems(Startup, register)
            .add_systems(OnEnter(CurrentScreen::MainMenu), render);
    }
}

fn render(mut commands: Commands, server: Res<AssetServer>) {
    commands.spawn((
        ScreenMarker,
        HtmlNode(server.load("hui/screens/main_menu.xml")),
    ));
}

fn register(mut html_funcs: HtmlFunctions) {
    // html_comps.register("hui/screens/main_menu/...")
    html_funcs.register(
        "goto_game_settings",
        |In(_entity), mut state: ResMut<NextState<CurrentScreen>>| {
            info!("goto_game_settings");
            state.set(CurrentScreen::GameSettings);
        },
    );
    html_funcs.register(
        "goto_sandbox",
        |In(_entity), mut state: ResMut<NextState<CurrentScreen>>| {
            state.set(CurrentScreen::Sandbox);
        },
    );
}
Simple! All the local components are defined here within this module as well, e.g. in the sandbox I register the sidebars and their functionality directly within the Sandbox plugin module.
Styles were implemented manually, though I’m looking into bevy_flair to solve this issue.
One more thing I’ve noticed: There seems to be a frame delay between creating the UI and rendering it properly. Not sure this is a bevy_ui thing or if it’s hui, but it is definitely noticable and unfortunate.
The Simulation
Honestly, this part is pretty straightforward!
I first implemented a compute shader using the official game of life example. I adapted it to run in my app, then realized that I couldn’t use it on the web! Since this game is for the jam and I want people to play it, I decided to shelve this approach and switch to a CPU-based renderer. In retrospect, I probably should have just used a fragment shader.
The CPU simulation is a simple burst-based workflow. It uses two textures (bevy Image structs). The first texture is read, the second texture is written to. The UI element containing the image has a handle pointing to one of these textures; once the writing is done, the buffers swap. Generally this works pretty well, but it faces some serious issues when it comes to rendering a 512x512 image.
I used a simple ComputeTaskPool to spawn a bunch of threads to do the computation. Every pixel in the image needs to compute its next state - in this case, one of three: active, empty, or untouched.
I’m not sure how it works under the hood, but it probably would have been better to have a persistently allocated thread pool, then communicate with a channel. I imagine there’s some latency from spawning and despawning all those threads every frame!
Somebody in the comments wanted to see the simulation code. I would definitely like to show the simulation description in the sidebar! For now, here’s the code I used:
// This calculation function should be passed in.
// It should be the team's chosen rule.
// Some restrictions: The neighborhood _must_ have at least one active cell.
let calculate = |current: CellCondition, neighborhood: [CellCondition; 8]| -> CellResult {
	let num_active = neighborhood
		.iter()
		.filter(|c| **c == CellCondition::Active)
		.count();
	let spawn = current == CellCondition::Empty && num_active == 3;
	let stay_alive = num_active == 2 || num_active == 3;
	let die = current == CellCondition::Active && !(2..=3).contains(&num_active);

	if spawn || stay_alive {
		CellResult::Active
	} else if die {
		CellResult::Empty
	} else {
		CellResult::Untouched
	}
};
For the stamps, all I did was get the relative cursor position of the stamp, then copy the texture to a special preview texture which is used when the simulation is paused. Then, on click, all the buffers are synced with the preview texture and the sim runs.
Lessons Learned
- I’m reconsidering my workspace setup for qproj. This is especially true since
bevy_simple_subsecond_systemdoesn’t work with workspaces :< - It’s good practice to put just about every distinct feature into a plugin. It’s the main encapsulation method, and bundles are increasingly outmoded by relationships.
- Here’s a layout of the custom plugins I used:
App (
	DevPlugin (),
	StampsPlugin (),
	SimPlugin (
		CpuSimPlugin (),
		GpuSimPlugin (),
		SimLifecyclePlugin (),
	),
	UiPlugin (
		ScreensPlugin (
			MainMenuScreenPlugin (),
			SandboxScreenPlugin (),
		),
		WidgetsPlugin (
			SliderWidgetPlugin,
			SelectWidgetPlugin,
			StampSelectorWidgetPlugin,
			SimImageWidgetPlugin,
		),
	),
)- Not a single
bundle.rsin here. This may have more to do with the layout system though. Components - as defined in the XML files - are essentially bundles, just written in a serializable format. - It’s a good idea to put all the shared types in a single folder alongside your plugins. This way the main files can be for defining your systems logic.1
- I didn’t make much use of the ECS, unfortunately. If I had thought of this outside the context of the jam, the UI-heavy nature of the project probably makes this a better fit for the browser! But, it’s good to explore what Bevy has to offer; understanding the pain points is essential to improving it.
Here are some things I’d like to do with MARKOFF in the future:
- Better styling with bevy_flair.
- Use fragment shaders so we can have hardware acceleration in the web and the browser.
- Implement more rule types, stamps, and proper turn taking.
- Implement seeds (cells with ‘wake conditions’, adding a reactive component to the simulation.)
- Add shaders to the background for neat visual effects :)
- Network based play? And consistent state!
Addendum: Some Comments on the Bevy APIs
System Sets
It would be awesome if I didn’t have to do this:
// this is super annoying!
app
	.configure_sets(
		Update,
		(
			GpuSimSystems.run_if(run_gpu_systems),
			CpuSimSystems.run_if(run_cpu_systems),
		),
	)
	.configure_sets(
		FixedUpdate,
		(
			GpuSimSystems.run_if(run_gpu_systems),
			CpuSimSystems.run_if(run_cpu_systems),
		),
	)
	.configure_sets(
		OnEnter(SimState::Init),
		(
			GpuSimSystems.run_if(run_gpu_systems),
			CpuSimSystems.run_if(run_cpu_systems),
		),
	)
	.configure_sets(
		OnEnter(SimState::Running),
		(
			GpuSimSystems.run_if(run_gpu_systems),
			CpuSimSystems.run_if(run_cpu_systems),
		),
	)
	.configure_sets(
		OnEnter(SimState::Paused),
		(
			GpuSimSystems.run_if(run_gpu_systems),
			CpuSimSystems.run_if(run_cpu_systems),
		),
	)
	.configure_sets(
		OnEnter(SimState::Closed),
		(
			GpuSimSystems.run_if(run_gpu_systems),
			CpuSimSystems.run_if(run_cpu_systems),
		),
	)
One thing I could do to mitigate this is to use a crate like strum to iterate over my SimState enum, but this doesn’t stop me from having to specify Update, FixedUpdate, OnEnter(_), OnExit(_), … Basically, it would be nice to have a shorthand to configure sets for all schedules simultaneously. It seems to be a common enough gotcha that it’s mentioned in the Bevy cheatbook (way back in 0.13!). Another approach is to place the run_if condition on all the relevant systems, but that seems to defeat the purpose.
UI
I love the comments on the Node type. It’s super easy to forget the difference between justify and align in flexbox and grid based styling. The documentation here is better than anything I’ve seen in the Typescript ecosystem, so thanks for that! Generally, the whole thing is very well-considered, as much as I want to complain about the deep nesting and extreme verbosity.
Footnotes
-
I’m aware I’m probably rediscovering some common design patterns here! ↩